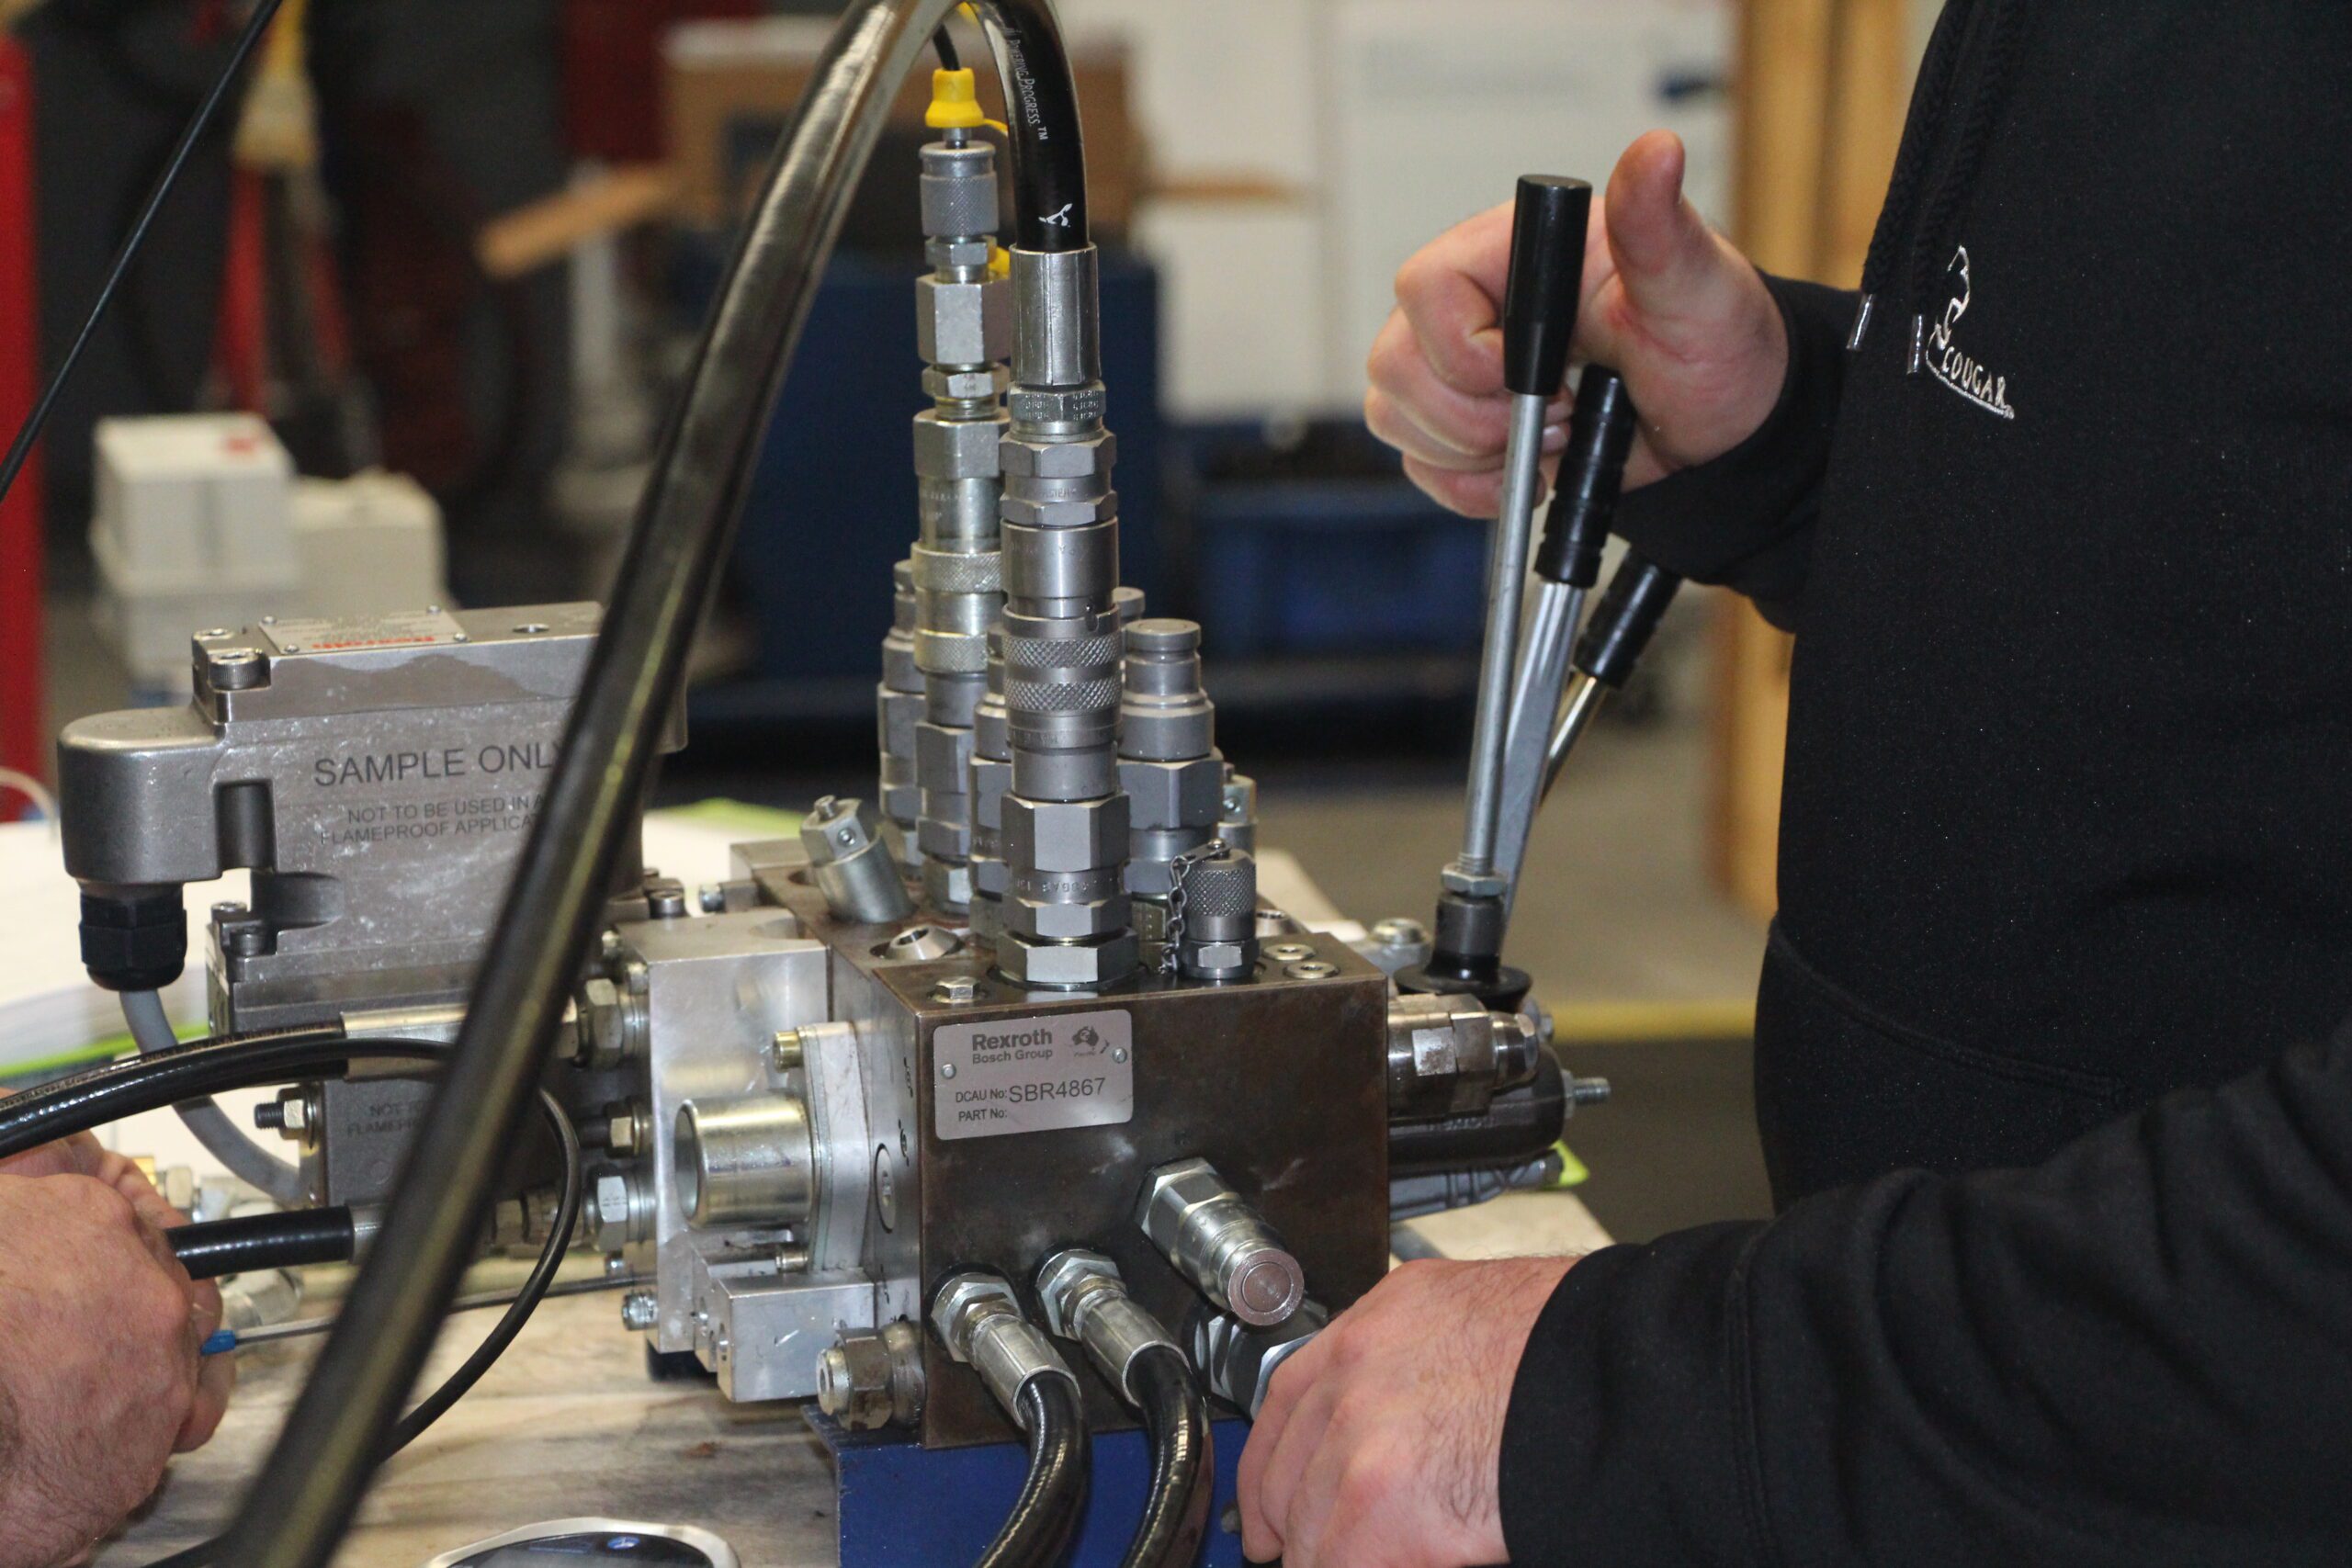
When it comes to hydraulic systems, proper setup and maintenance are crucial for safe and efficient operation. One essential component that plays a vital role in system safety is the relief valve. The relief valve protects the system from excessive pressure and prevents potential hazards such as component failure or leaks. In this article, we will guide you through the process of setting a relief valve for your hydraulic system, highlighting key considerations and providing step-by-step instructions.
Relief valves act as a safety mechanism by controlling system pressure. They are designed to open and release fluid when pressure exceeds a specified limit. This prevents damage to the system and its components. Setting the relief valve correctly ensures that the pressure stays within the safe operating range, avoiding potential accidents and costly repairs.
Step 1: Familiarise Yourself with the System:
Before adjusting the relief valve, it’s essential to have a thorough understanding of your hydraulic system. Identify the main components, including the pump, valves, and actuators. Familiarise yourself with the system’s maximum pressure rating and the recommended relief valve setting range.
Step 2: Identify the Relief Valve Location:
Locate the relief valve within the system. It is typically found near the pump or the valve block. Refer to the system’s technical documentation or consult a hydraulic expert if you’re unsure about the relief valve’s specific location.
Step 3: Ensure System Pressure is Normal:
Before adjusting the relief valve, ensure that the hydraulic system is at normal operating pressure. This step is crucial as it allows you to set the relief valve within the appropriate pressure range. Monitor the pressure gauge and ensure it stabilises within the desired range.
Step 4: Gradually Adjust the Relief Valve Setting:
Using an appropriate wrench or tool, start adjusting the relief valve’s setting. Make small, incremental adjustments to increase or decrease the pressure relief point. Keep a close eye on the pressure gauge and observe any changes in the system’s behaviour as you make adjustments.
Step 5: Observe System Response:
As you adjust the relief valve, observe how the system responds. Pay attention to any unusual noises, leaks, or sudden pressure drops. These could indicate problems such as worn components or system overpressure. If you notice any issues, stop the adjustment process and consult a hydraulic specialist.
Step 6: Test and Verify:
Once you have set the relief valve within the desired pressure range, it’s essential to test and verify its functionality. Gradually increase the system pressure while monitoring the relief valve’s operation. Ensure that it opens and releases fluid when the pressure exceeds the set limit. Additionally, check for any abnormal system behaviour during the test.
Setting a relief valve requires careful attention to safety. Here are a few key considerations to keep in mind:
Personal Protective Equipment (PPE): Always wear appropriate PPE, including safety goggles, gloves, and protective clothing, when working with hydraulic systems.
System Shutdown: Before adjusting the relief valve, ensure that the hydraulic system is properly shut down and depressurized to prevent accidental releases or injuries.
Consultation and Training: If you are unsure about any aspect of setting the relief valve or handling hydraulic systems, you can start your hydraulics journey with us today with our cost-effective, and time efficient short courses. In just 6 days of hands-on training we can get you ready to get on site.
Setting a relief valve for your hydraulic system is a critical task that ensures safety and optimal performance. By following the steps outlined in this article and paying attention to safety considerations, you can effectively set the relief valve and protect your hydraulic system from potential hazards. Remember, if you have any doubts or concerns, consult an experienced hydraulic technician for guidance. Stay safe and enjoy the reliable operation of your hydraulic system.
What technical skills would you like to brush up on?
If you want to access a more technical walkthrough of how to set a relief valve then check out our tutorial here.
Have a good week and see you next week for another fluid power Friday.
Kyle